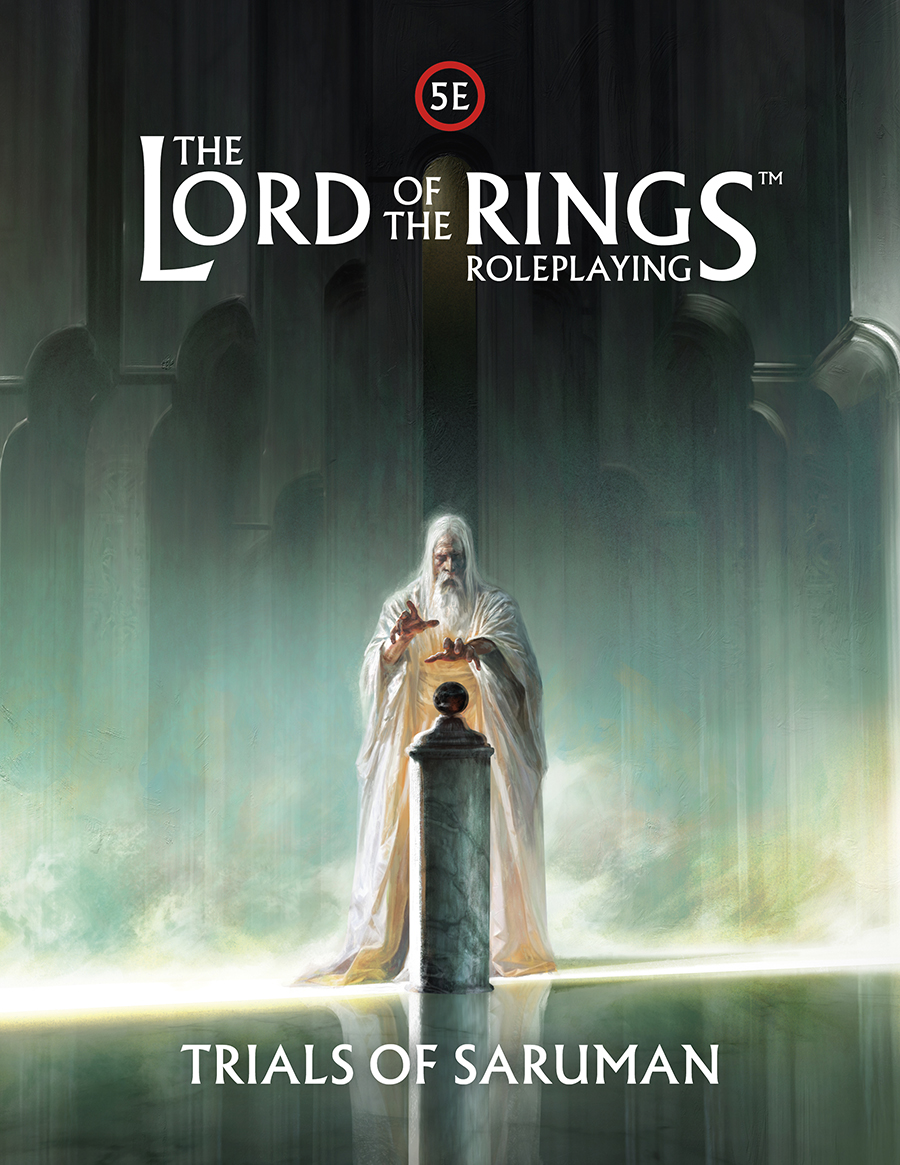
“For Saruman the White is the Lord of Isengard, a counsellor to kings, a master of Ring-lore, and the chief adversary of the Enemy. Great is his wisdom, yet greater still is his pride. The tale starts before his fall; the treason of Isengard has not begun. Perhaps Saruman’s doom is already written, or perhaps the heroes can change the ending and save the White Wizard from corruption. Saruman’s fate – and that of all Middle-earth – lies in their hands!”
As I mentioned in my review of the Starter Set, Free League’s The Lord of the Rings Roleplaying is “perfectly pitched for people who are getting a little tired of Dungeons & Dragons and are looking for a new world to play in, but who don’t have the time or energy to learn an entirely new rules system”. By taking the well-established D&D 5e rules and layering in a few LotR‑specific tweaks, the game remains accessible and engaging, and this latest release – Trials of Saruman – adds further resources and adventure ideas centred on the Lord of Isengard.
INCORPORATING SARUMAN INTO YOUR CAMPAIGN
The six adventures in this volume can be played as a single ongoing campaign or dropped into your existing Lord of the Rings Roleplaying sessions. For me, the latter approach works far better, as it’s unlikely your players will want to take up permanent residence in Isengard for what could amount to decades of in‑world time. Positioning Saruman as an occasional supporting figure who calls upon the party for aid at narratively appropriate moments (typically through their existing Patron, though rules are provided for Saruman himself to take on that role) keeps things feeling fresh while still hinting at a larger story arc. And given that players already know how that arc ultimately unfolds in the source material, the sense of looming inevitability – or the possibility of defying it – becomes a compelling part of the experience.
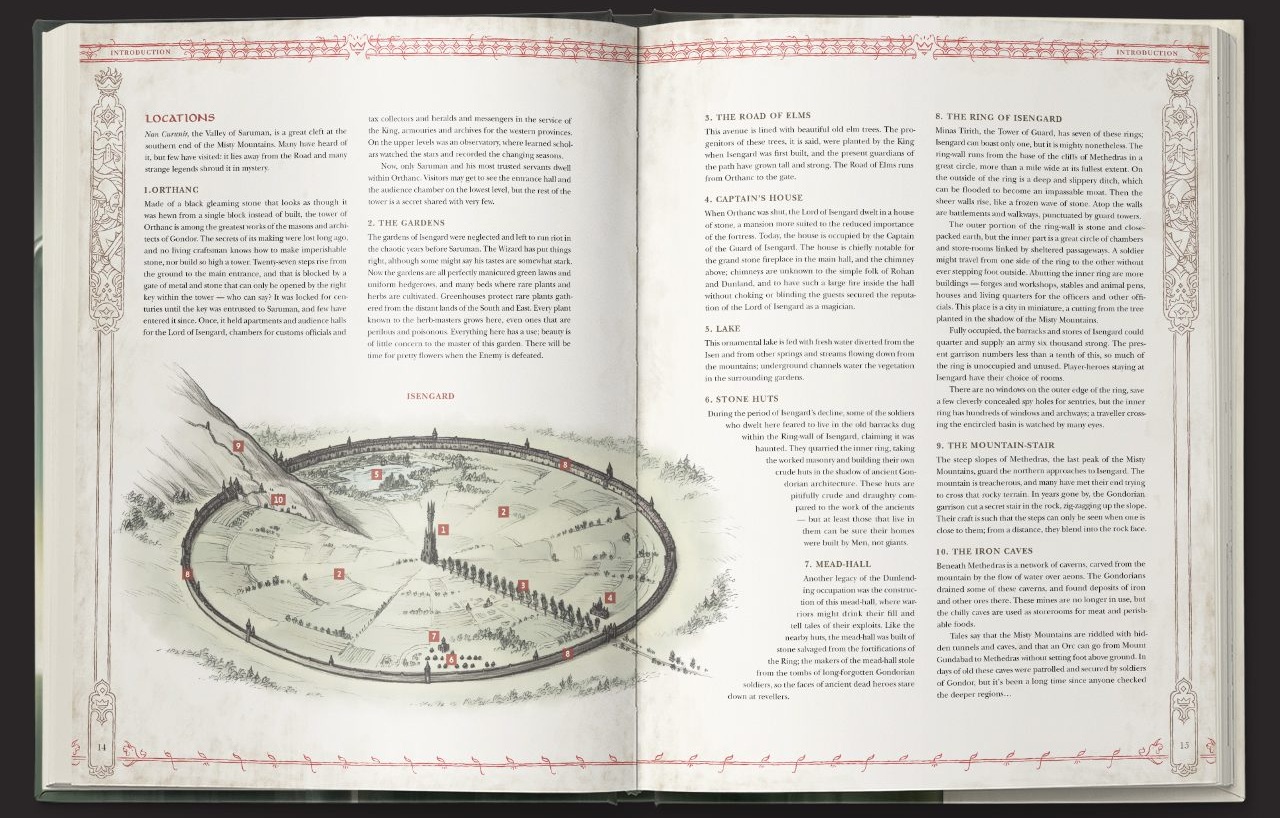
The book features extensive background information on Saruman, including a detailed breakdown of Isengard and the tower of Orthanc, complete with NPCs and key locations. There are also in‑depth tips for roleplaying Saruman, helping you keep him engaging and suitably elusive throughout the adventures. Perhaps most interesting is the inclusion of a Shadow‑point tracker for Saruman himself, the progression rate of which can be set at the beginning of the campaign. The Loremaster (and ideally the players) can decide whether his fate is already sealed or whether their actions might yet redeem the Lord of Orthanc. The tracker also affects the visual appearance of Isengard as Saruman’s corruption gradually grows. It’s a really cool touch, and an absolute blast for a Loremaster to narrate.
BREAKING DOWN THE ADVENTURES
Chapters 1-3 are designed to be played in any order, and take place any time between 2965 and 2994. Chapter 4 comes next, followed by Chapter 5 which takes place in 2994, the year of Balin’s ill-fated attempt to reclaim Moria. The final chapter takes place in the year 3000, where Saruman looks into the Orthanc-stone for the first time.
Here’s an overview of the six adventures, without leaning too heavily into the world of spoilers:
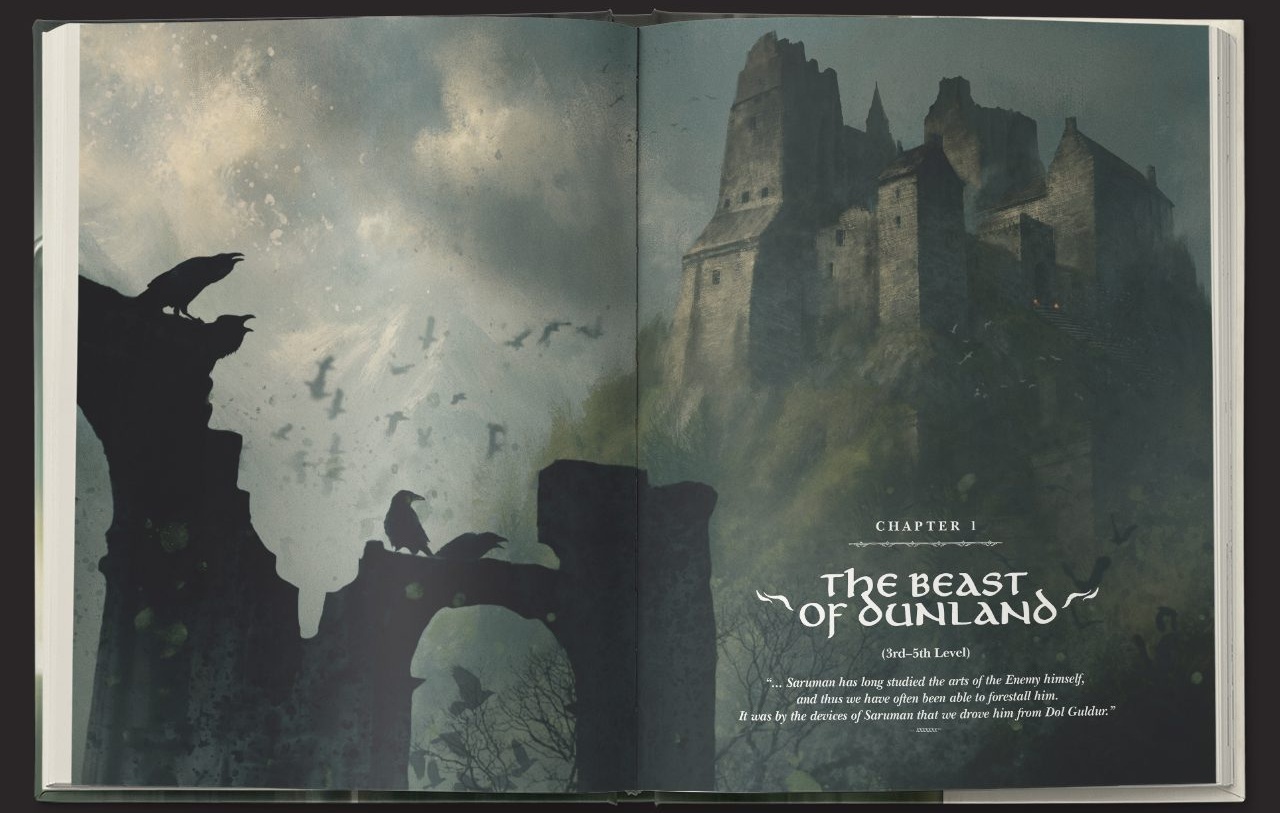
Chapter 1: The Beast of Dunland (level 3-5)
Players-heroes are sent to Dunland to slay a monster that troubles the tribes there.
This is an engaging six‑part adventure that sees the players interacting with the Dunlendings – Saruman’s contentious allies – helping them defeat a creature that has been terrorising their lands while potentially being drawn into the tense political situation within the stronghold of Crow Hall. Their task is to ensure its inhabitants remain loyal to Saruman.
Free League have done a fantastic job fleshing out Crow Hall and its residents, including the “Crow Lord” Gorsad, giving the party plenty of time to absorb the rising tensions before setting out in search of the beast. The adventure delivers some meaty combat followed by a Council section that neatly wraps things up and propels the story forward in several possible directions. It’s a solid scenario that shines a welcome light on the often‑overlooked Dunlendings and firmly establishes the characters within Saruman’s sphere of influence.
Chapter 2: The Sea-prince of the Shore (level 3-5)
The rise of a charismatic healer near the mouths of the Isen troubles Sauraman, and the Player-heroes are sent to investigate.
Another strong adventure, though one that may feel a little disconnected from the Middle‑earth most players are familiar with. There’s some cross‑country travel and a fun battle against a marsh‑dwelling monstrosity before the party reaches the sleepy fishing village of Todden, which is wonderfully described.
The “charismatic healer” – Nambar, the Sea‑prince – is a genuinely compelling creation, and one any self‑respecting Loremaster will have an absolute blast roleplaying. There’s plenty of scheming, negotiation, and the ever‑present Tolkien theme of power’s corrupting influence. Deep‑cut fans of the source material will also appreciate the inclusion of a certain iconic dark ship in the adventure’s final act.
Chapter 3: The Disaster of the Gladden Fields (level 4-6)
One of Sauraman’s agents is waylaid by Ocrs, and a treasure he bears is stolen from him. It must be recovered at all costs…
In this five‑part story, the players are sent to aid Arcinyas, a scholar in Saruman’s service who has been dragged off by goblins after seemingly discovering something of great importance. This is a fantastically structured adventure, made even more tantalising by its initial location – the Gladden Fields, the site of Isildur’s death and subsequent betrayal by the Ring of Power. It’s a place brimming with lore and significance, and considering this is only the beginning before the players pursue their quarry all the way to the doors of Moria (and very likely beyond), it’s an adventure that will hook anyone with even the slightest interest in the source material.
There’s plenty of chasing, negotiation, combat, and a real sense of threat throughout, particularly as the players reach the doomed mine of Durin. It’s definitely the strongest adventure so far, and one you’ll be absolutely itching to play.
Chapter 4: There Let Them Lie Until The End (level 6+)
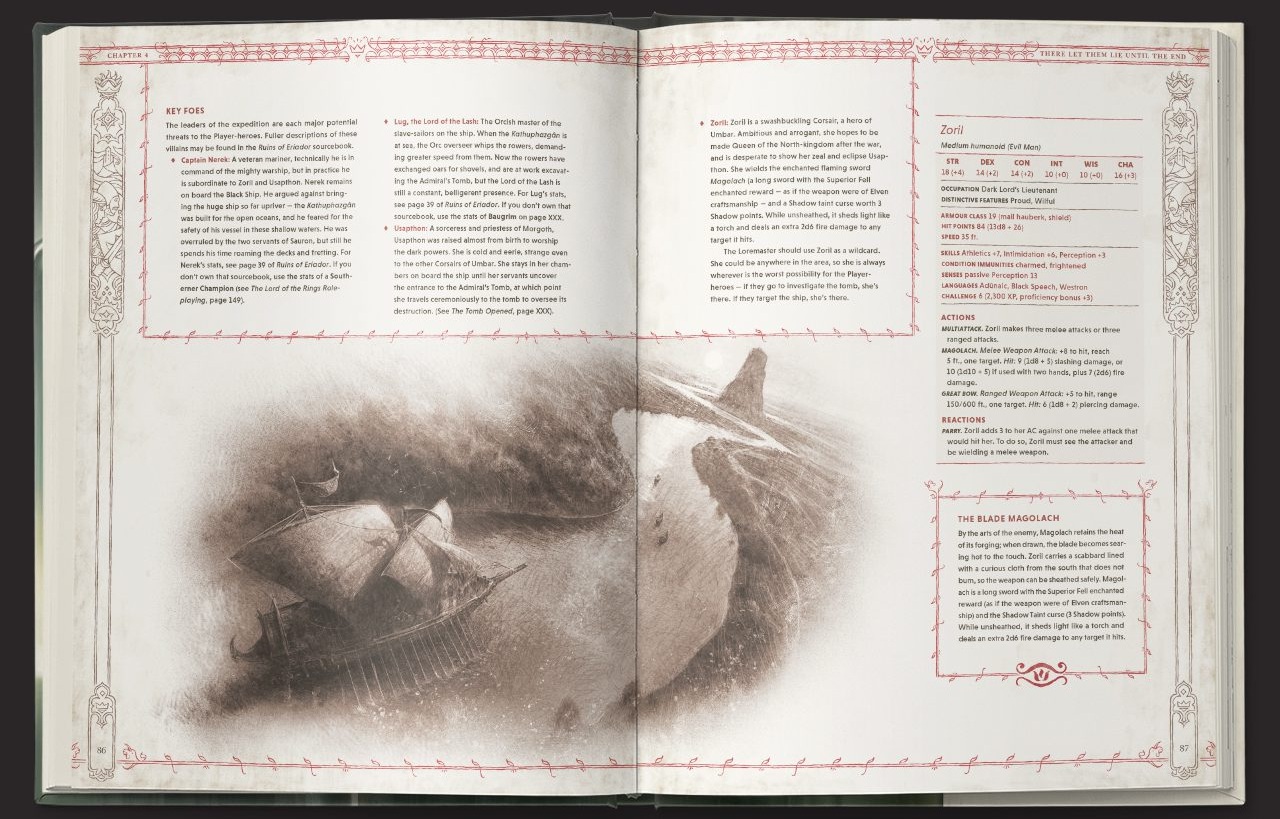
The threat of the Corsairs in Eriador must be ended. Sauraman aids the heroes in destroying the great Black Ship that lurks off the coast.
This adventure serves as a narrative continuation of the events of Chapter 2, beginning in Bree before drawing the players into battle with a strange band of raiders who have ties to the black ship mentioned earlier. It also gives the party their first opportunity to enter Saruman’s chambers in Orthanc, where they’re shown how their actions in Chapters 1–3 have shifted the balance of power across Middle‑earth. A warband is assembled from previously encountered characters (along with a few new faces), and the campaign delivers its first large‑scale battle.
It’s a solid concept for an adventure, but it feels a little muddled and less focused than the others. Also, given the wide range of possible player choices along the way, it will likely be an absolute nightmare for less experienced Loremasters to run.
Chapter 5: The Quest of Moria (level 7+)
The Player-heroes are sent into Moria to retrieve the lost ring-lore of Eregion.
This adventure takes place in the year 2994, when Balin’s attempt to retake Moria met its end. It begins with Saruman tasking the players with investigating trespassers in Fangorn as a favour to Treebeard, before they encounter desperate survivors of Balin’s ill‑fated company and journey all the way to Moria on a quest of exploration, vengeance, or rescue, depending on how events unfold. The result is a tense, fraught scenario that feels as though it’s been lifted straight from the big‑screen adaptations, as the players struggle to escape the doomed mine.
I really liked this one – it’s thematically rich, tightly connected to well‑known LotR lore, and far better structured than some of the earlier chapters (while still avoiding being entirely “on rails”), making it a much more appealing prospect for a Loremaster.
Chapter 6: The Ithil-stone (level 8+)
To Minas Morgul, and a desperate strike against the enemy!
Now we’re talking! The thrill of sneaking into Mordor via Minas Morgul has been well covered in the source material, and now the players get to experience it for themselves. The overall tone of this mission is dictated by Saruman’s current Shadow total, which will have been shaped by the player characters’ actions throughout the first five chapters. Saruman is also heavily involved here, appearing through mysterious glimpses, dream‑visions, or disembodied whispers as the party makes its way across Ithilien and into the Morgul Vale.
There’s a fantastic, action‑packed conclusion featuring Ring‑wraiths, Saruman either succumbing to corruption or resisting Sauron’s influence, and even a potential Shelob appearance to keep things moving. It’s a brilliant finale to the six‑part adventure, packed with key moments and scenes lifted straight from the source material – the kind that should have your players cheering at the table.
The campaign also offers several different “endings” based on how the players have approached the adventures and how Saruman’s Shadow score is holding up, ranging from heroism to despair to outright treachery. A+ stuff once again from the folks at Free League.
FINAL THOUGHTS
Saruman is one of the most iconic and narratively compelling characters Tolkien ever committed to the page, so it’s great to see Free League fleshing him out in this way. The adventures here are well‑crafted and can be used either as standalone stories slotted into an existing campaign or as a cohesive arc that takes the players from their first meeting with the Lord of Isengard all the way to his impending corruption at the hands of Sauron (or not, depending on how you want to play it). As always, the printing and presentation are absolutely top‑notch, and there’s more than enough content here to justify the price point.
The Lord of the Rings Roleplaying: Trials of Saruman can be pre-ordered now from the Free League Website, complete with a free PDF copy which is available right away.
The writer of this piece was: Craig Neilson-Adams (aka Ceej)
Article Archive: Ceej Says
You can follow Ceej on Twitter


Leave a Reply